DINOloket is a map application that provides access to the largest database on the Dutch subsurface. On this page you will find instructions on how to use this application. This page is entirely about the use of the map for subsurface data. If you want to read the instructions for using the map for subsurface models, then use the Help button (left) on the map for Subsurface Data. For the old version, this Help page Subsurface Data is still applicable.
How to navigate on the map
Zoom in/Zoom out
By scrolling with your mouse you can zoom in and out on the map, so that you can view a larger or smaller area.
You can also use the navigation buttons:
 Zoom in
![]() Zoom out
Zoom out
 Zoom out completely
Move around/pan
You can move around the map by clicking on the map and holding the mouse button. You can then move the map so that you can navigate to the desired location.
Search location
 By clicking on the search button, you can search for a location or object on the map.
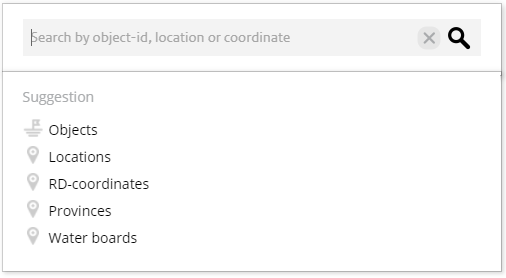
A window will then appear in which you can search in the following categories:
- Object (via identification)
- This allows you to search for a specific object by entering the identification number.
- Address
- This allows you to search for an address in the Netherlands. This can also be a zip code or the name of a city. As you enter the address, suggestions will be given to help you find the right location.
- RD-coordinates
- This allows you to search by RD (National Triangulation System) coordinates.
- Province
- You can search for provinces or you can select one of the provinces in the Netherlands by clicking on Provinces. The selected province will be outlined on the map.
- Water board
- You can search for water boards or you can select one of the water boards in the Netherlands by clicking on Water boards. The selected water board will be outlined on the map.
RD Coordinates
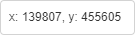
In the right bottom corner of the map the RD coordinates of the position of the mouse are displayed.
Show and hide data on the map
When you open the interactive map, no data is shown on the map. This is because no map layers have been selected yet. At the top left you will find an overview of the available domains. A domain consists of multiple map layers.
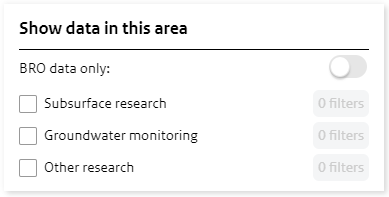
By default, all card layers are available. By activating the "BRO data only" button, only the map layers with BRO data will be shown. You can activate the card layers for a domain by checking the checkbox:
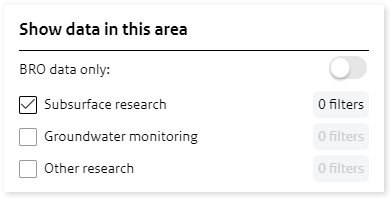
The map layers within the domain are displayed as soon as you click on the name of the domain. You can also activate or deactivate map layers from this view by checking or unchecking the checkbox:
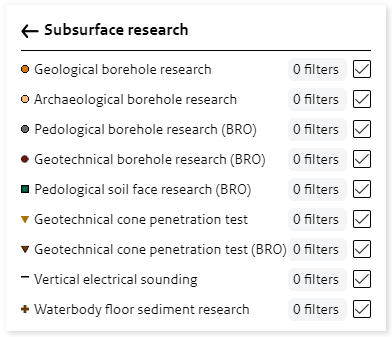
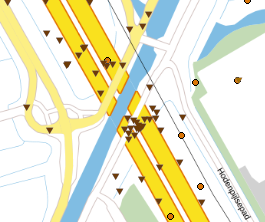
With the map layers, the corresponding symbol is also shown to identify the data on the map.
Filter data
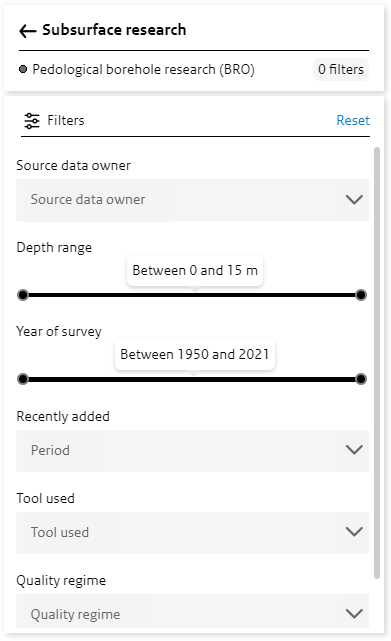
For the map layers there are several filter options available. You open the filters by clicking on the name of the map layer.
The filters are "grayed out" if they are not available. They become available as soon as the map is zoomed in far enough. For a number of filters a specific description is available in the form of a tooltip.
The tooltip can be consulted by moving the mouse over the filter.
View object information
By clicking on one of the objects on the map, a window is opened with information about the object.
In the window that has appeared, first the basic data of the object is shown. More information can be displayed with the tabs. The available information and tabs may differ per object.
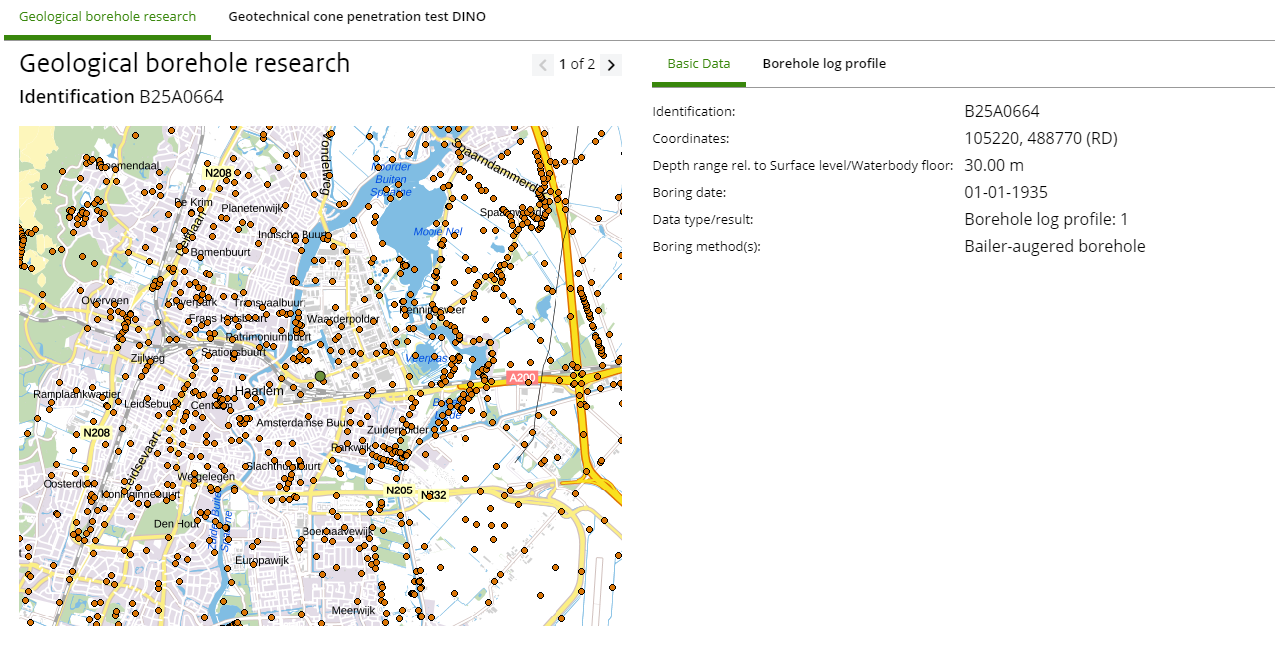
When multiple points are close to each other, multiple points can be displayed in the object information window with a click action. The arrows at the top of the information window can be used to click through to adjacent objects.

When objects from different map layers are clicked simultaneously, they will be shown in the information window under different tabs.
Order objects
In addition to viewing the information on the map, it is also possible to order the data of a desired area for free. Before you start with this, you must first select a layer in the menu. You can then use one of the selection options to select the desired objects.
There are two selection options within DINOloket.
Rectangular selection tool
With the rectangular selection tool a rectangle can be drawn on the map. Objects within the rectangle will be selected.
![]() By clicking on the button with the rectangle symbol, you can activate or deactivate the selection tool. You make a selection by clicking and holding the mouse on the map. You end the selection by releasing the mousebutton.
By clicking on the button with the rectangle symbol, you can activate or deactivate the selection tool. You make a selection by clicking and holding the mouse on the map. You end the selection by releasing the mousebutton.

It is not possible to move the map while making a selection.
Polygon selection tool
You might not be able to select the required selection with the rectangular selection tool. For example, you want to select only the objects south of a winding river. The polygon selection tool can be used to make a selection with almost any desired shape.
![]() By clicking on the button with the polygon symbol, you can activate or deactivate the selection tool. You can start a selection by clicking on the map. Unlike the rectangular selection tool, you don't have to hold down your mouse button. With each click on the map, a corner of the polygon is defined.
By clicking on the button with the polygon symbol, you can activate or deactivate the selection tool. You can start a selection by clicking on the map. Unlike the rectangular selection tool, you don't have to hold down your mouse button. With each click on the map, a corner of the polygon is defined.
You can drop as many corners as you want and end the selection by double clicking.
You can cancel the selection by deactivating the polygon selection tool.
While drawing, it is still possible to navigate on the map by zooming in or out and moving the map.
Adjust and order your selection
After you have made a selection, an overview appears with the selected objects. You can now review the selection and optionally uncheck objects if you do not want to include them in your order. The selected objects can be displayed across multiple pages in the overview.
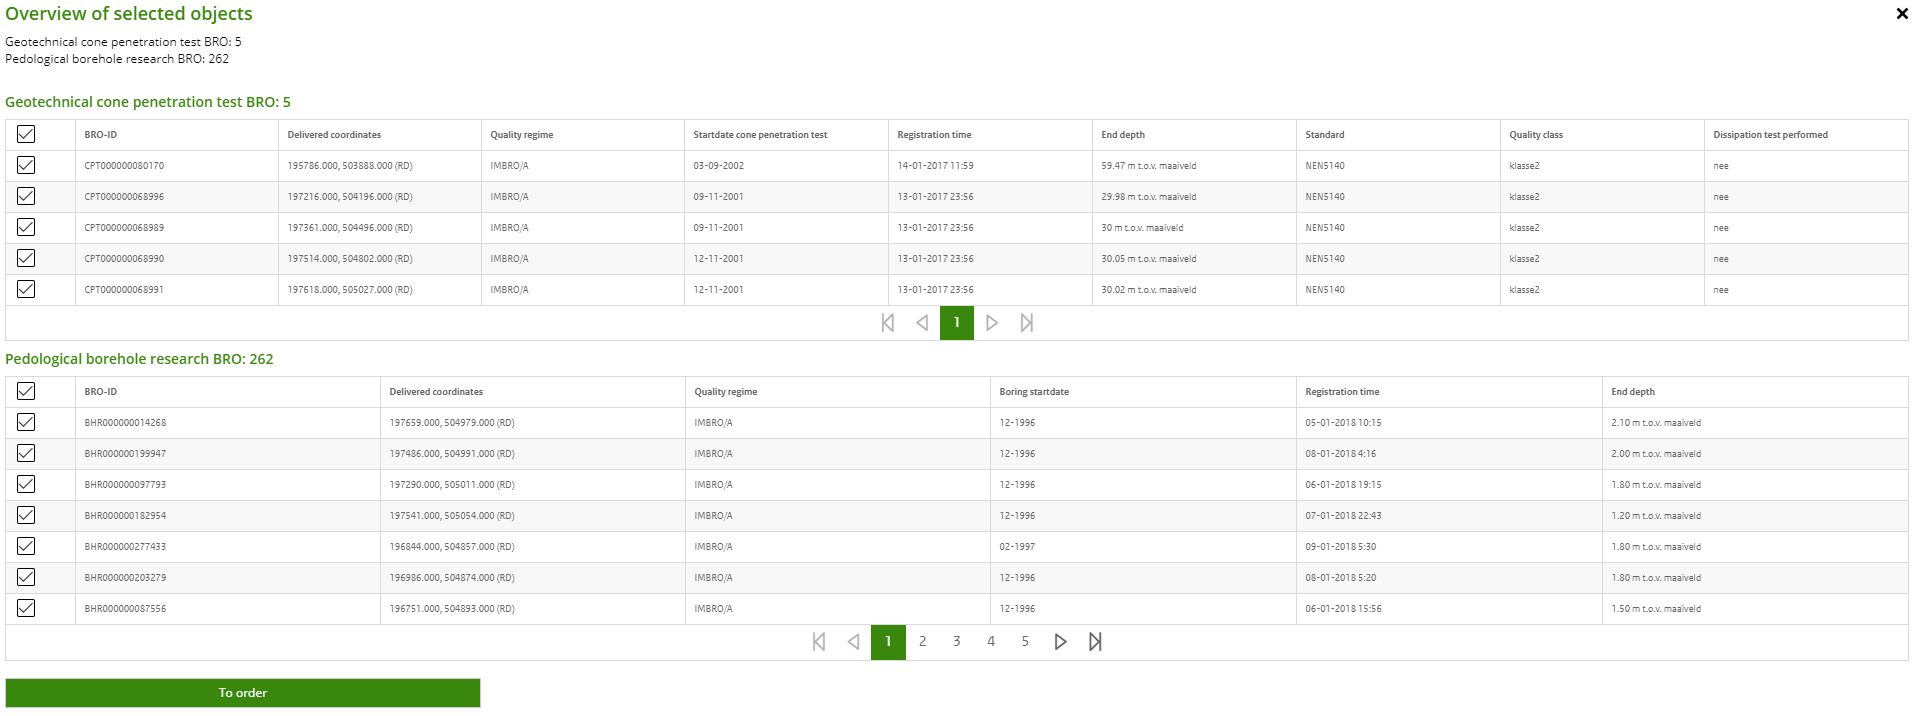
If you are satisfied with the selection made, press the "To order" button. A form appears where you can enter the following information:
- Email address (required)
- The e-mail address that is used to send the order to.
- Name
- The name used in the header of the e-mail.
- Your reference
- Your reference is used as the subject in the e-mail so you can easily recognise the order.
- Organisation
- The organisation for which you order the information.
- Verification code
- You must retype the displayed (CAPTCHA) code. In this way we try to prevent abuse.
(The data entered will only be used for sending the requested data by e-mail. View the terms and conditions of this website)

After submitting the data, your order will be processed. The possible processing time can be up to a maximum of 4 hours. Once your order has been processed, you will receive an email with a download link. You can then download the data in .ZIP format.
If you don't receive the e-mail within 4 hours, try again or contact the DINOloket service desk.